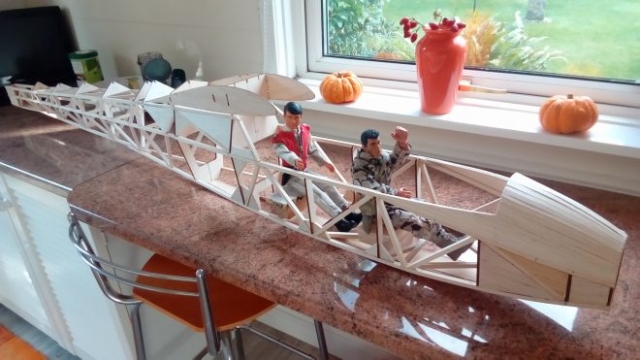
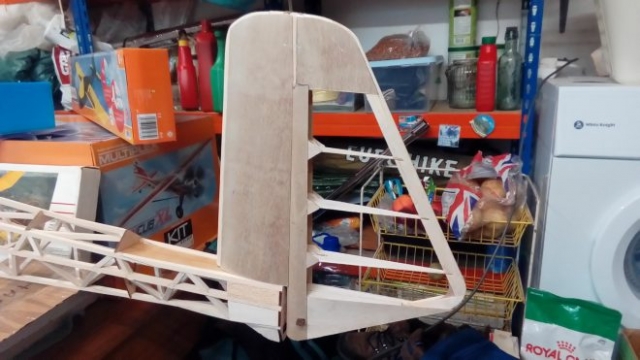
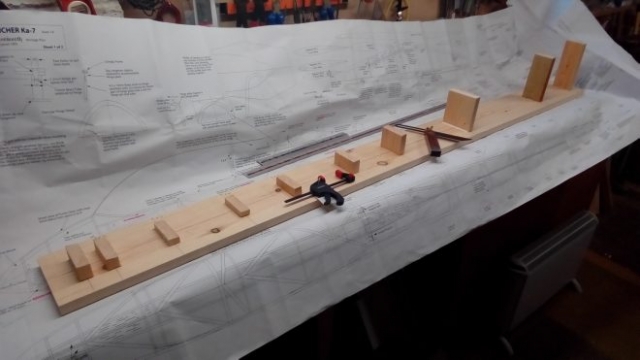
John continues to be busy in the workshop and has provided us another interesting update with photos. Over to you John:
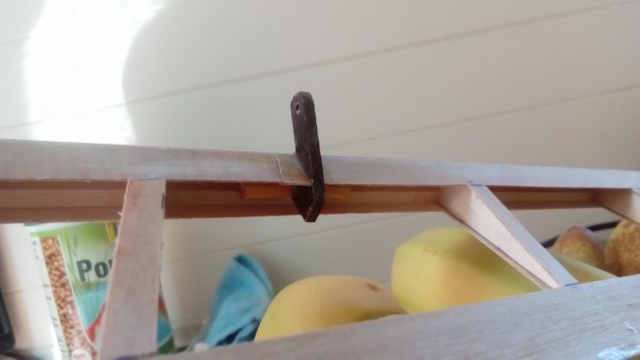
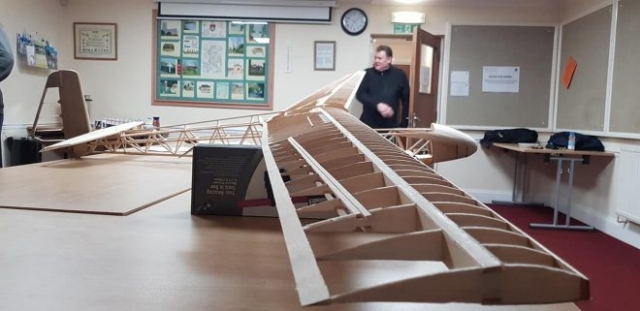
Still working on the wings, I did not realise just how much construction was involved, I will sometime conduct a survey on exactly how many separate items were needed to complete each wing, could be surprised! Also how gradually the weight increases. Picking up the basic wing structure a month or 2 back I think “oh that feels light”, however as you keep adding pieces, balsa, ply, servos, air-brakes, linkages and cable plus the glue your opinion begins to change! Then there is still the covering…
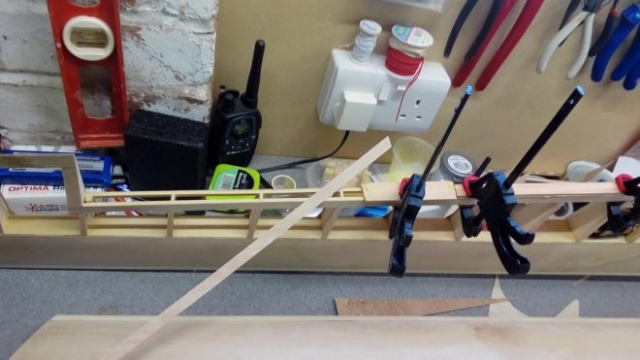
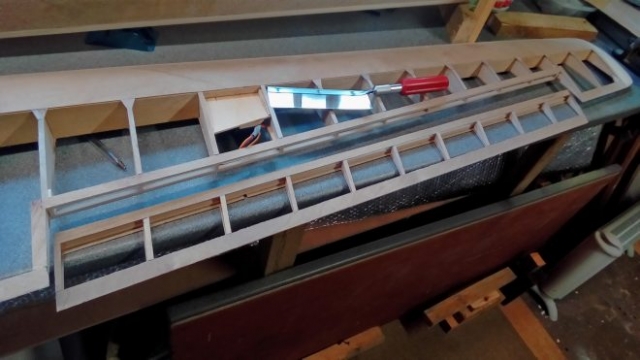
First pic.
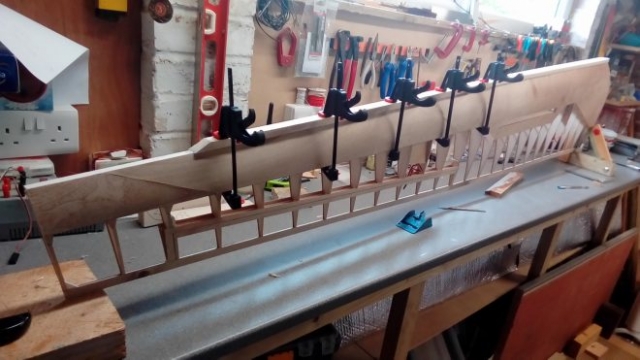
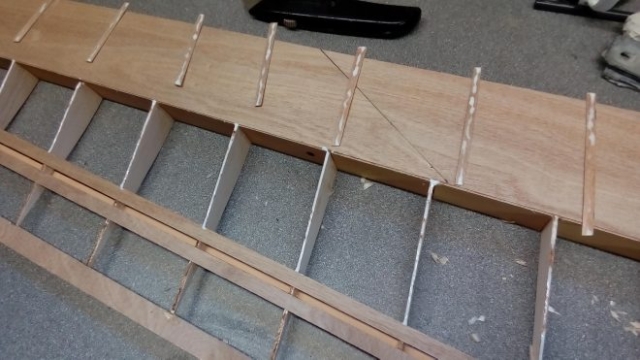
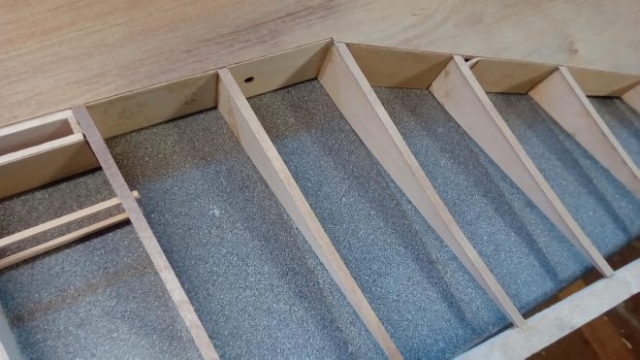
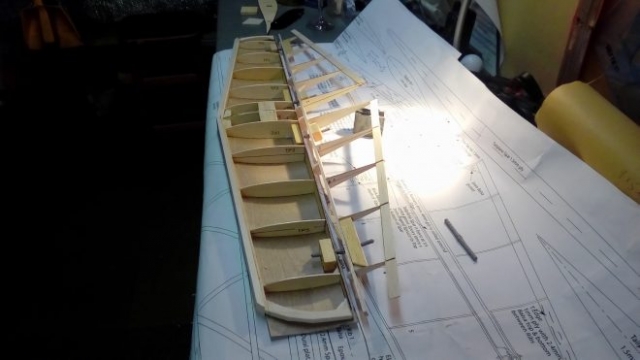
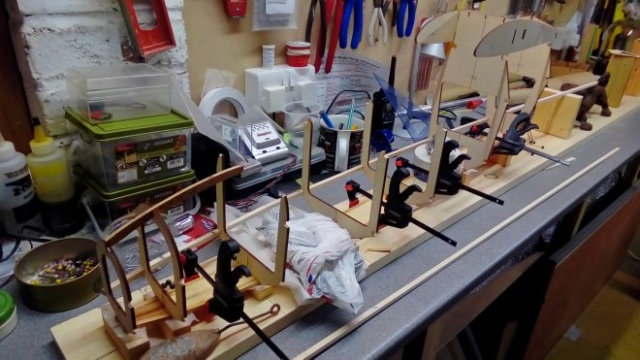
This shows LE being added, the trigger clamps have been thoroughly used throughout the build, really useful especially as you can place them in position and tighten with one hand whilst holding the item with the other.. Also see all 0.4 ply sheeting now on, thanks to Mike Roberts for some advice there, plus 0.4 ply rib capping and the gussets. Gluing sheet and capping was achieved by applying white glue to both surfaces and allowing to dry for about half to three quarters of an hour depending on ambient temperature then placing in position and ironing on. This gave an instant grip, I used a domestic iron on the 2 dot setting, no need to hold a curved piece as in the rib capping.
2nd Pic
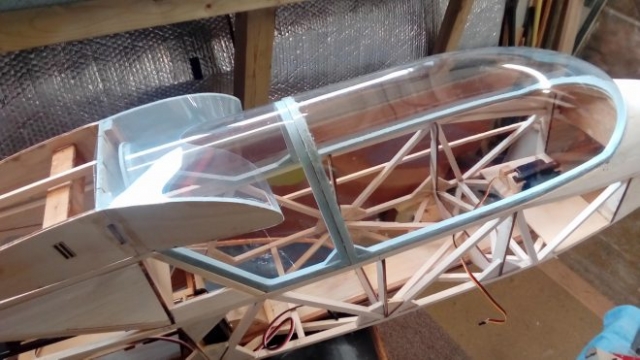
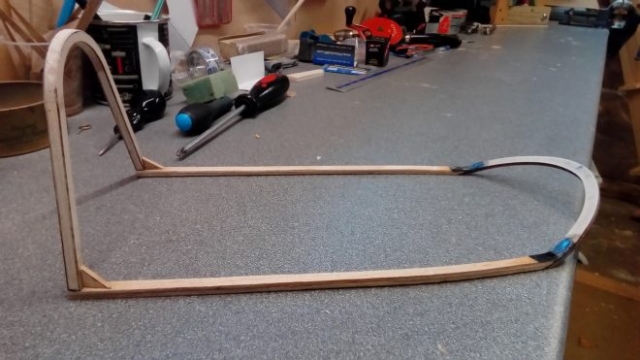
Completed 2 piece canopy. The forward canopy glazing is preformed for the K7 and you cut to fit the frame and glued on with canopy glue. The rear glazing used A4 stationary separation sheet as used in a work folder, a good thickness to be firm but still flexible and super clear, from Axworthys stationers. Note that the wing does not meet at the L Edge route and the space produced is glazed too, giving the full size pilot more visibility. I have to insert an anti crush dowel across this space to minimize damage should the wings be forced forward during an abrupt arrival, a hole will need to be made in both sides of the rear canopy to allow this, should have been done before gluing perspex to the frame I reckon!
Next job carving and sanding 4 mtrs of LE.
.John
